Signing in
Getting started takes less than a minute. Head to https://companion.cyclopt.com and sign in with the git provider you already use.
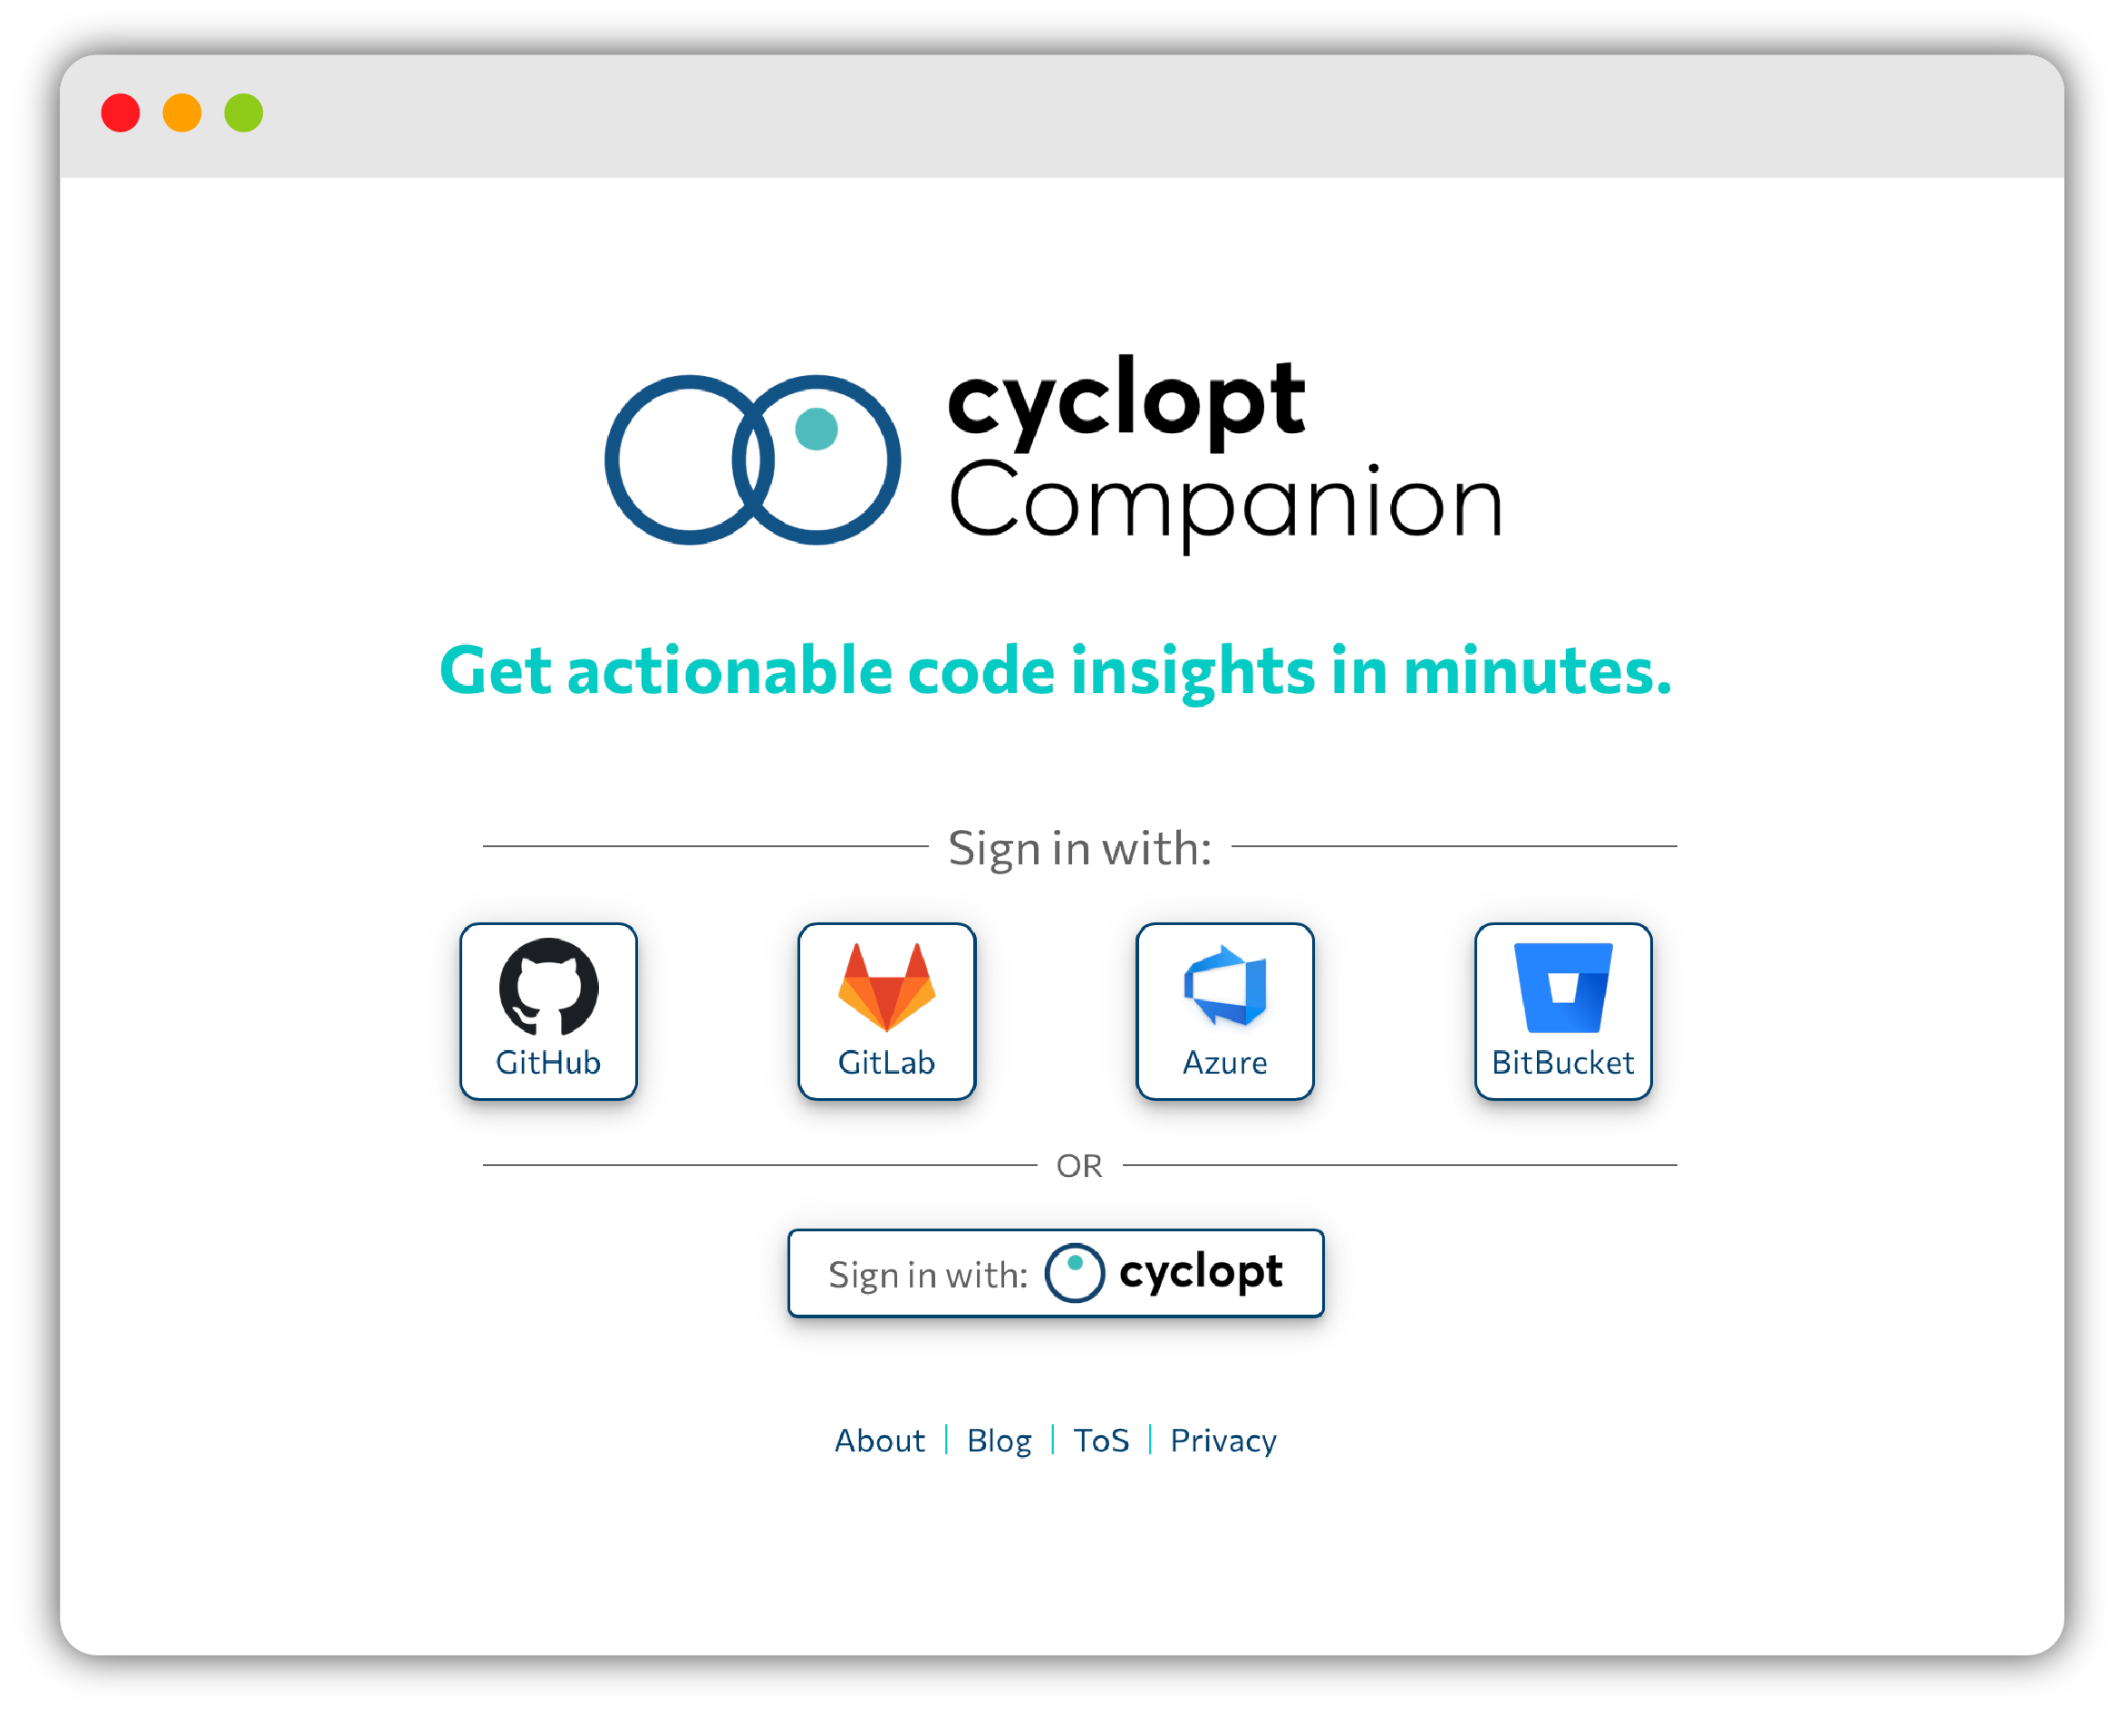
The sign-in screen
The sign-in screen greets you with the tagline "Get actionable code insights in minutes." and a "Sign in with:" divider offering four provider buttons:
- GitHub
- GitLab
- BitBucket
- Azure
Choosing GitHub, BitBucket or Azure takes you straight to that provider's OAuth flow. Authorize Cyclopt and you're in.
Signing in with GitLab
The GitLab button opens a menu where you choose between:
- GitLab.com: the standard, hosted GitLab.
- Self-hosted instance: for your own GitLab deployment (we need to add the integration first).
Selecting Self-hosted instance opens the Self-hosted GitLab Instance dialog, where you paste your instance URL (for example, https://gitlab.example.com) before continuing to authorization.
What happens on first sign-in
The first time you sign in, the free plan is activated automatically and you land on the Welcome page.
Cyclopt only needs read access to your repositories. It reads your code to analyze it, it never writes to or modifies your repositories.
Next steps
Once you're in, get oriented with The Welcome dashboard, then start Adding & viewing repositories.